Part 1 - HTML
Here we need to place the HTML code to tell it where to generate the structure for the picture sliders, you'll learn about those
later. For now grab that HTML code and place it in your code. Don't forget about the script, you're going to need that to connect to
jQuery library.
Example:
<script src="https://ajax.googleapis.com/ajax/libs/jquery/3.1.1/jquery.min.js">

<!--begin mashup-->
<div id="pic-box">
<!--begin forehead-->
	<div id="forehead" class="face">
    	<img src="img/forehead.jpg" alt="forehead">
    </div>
<!--begin eye-->
	<div id="eye" class="face">
    	<img src="img/eye.jpg" alt="eye">
    </div>
<!--begin nose-->
	<div id="nose" class="face">
    	<img src="img/nose.jpg" alt="nose">
    </div>
<!--begin mouth-->
	<div id="mouth" class="face">
    	<img src="img/mouth.jpg" alt="mouth">
    </div>
<!--begin neck-->
	<div id="neck" class="face">
    	<img src="img/neck.jpg" alt="neck">
    </div>
</div>
Part 2 - CSS
In the CSS section you'll have the picture box above the face with the z-index so that the rest of the
heads won't show. The height's for the id's of forehead, eye, nose, mouth, and neck are going to be different
for everyone, make sure you measure the height of the images you crop.
Example:
		#pic-box{ width: 320px;
				  z-index: 2;
				  overflow: hidden;
				  margin: 40px auto 0; }

		.face{ position: relative;
			   left: 0px;
			   top: 0px;
			   z-index: 1;
			   cursor: pointer; }

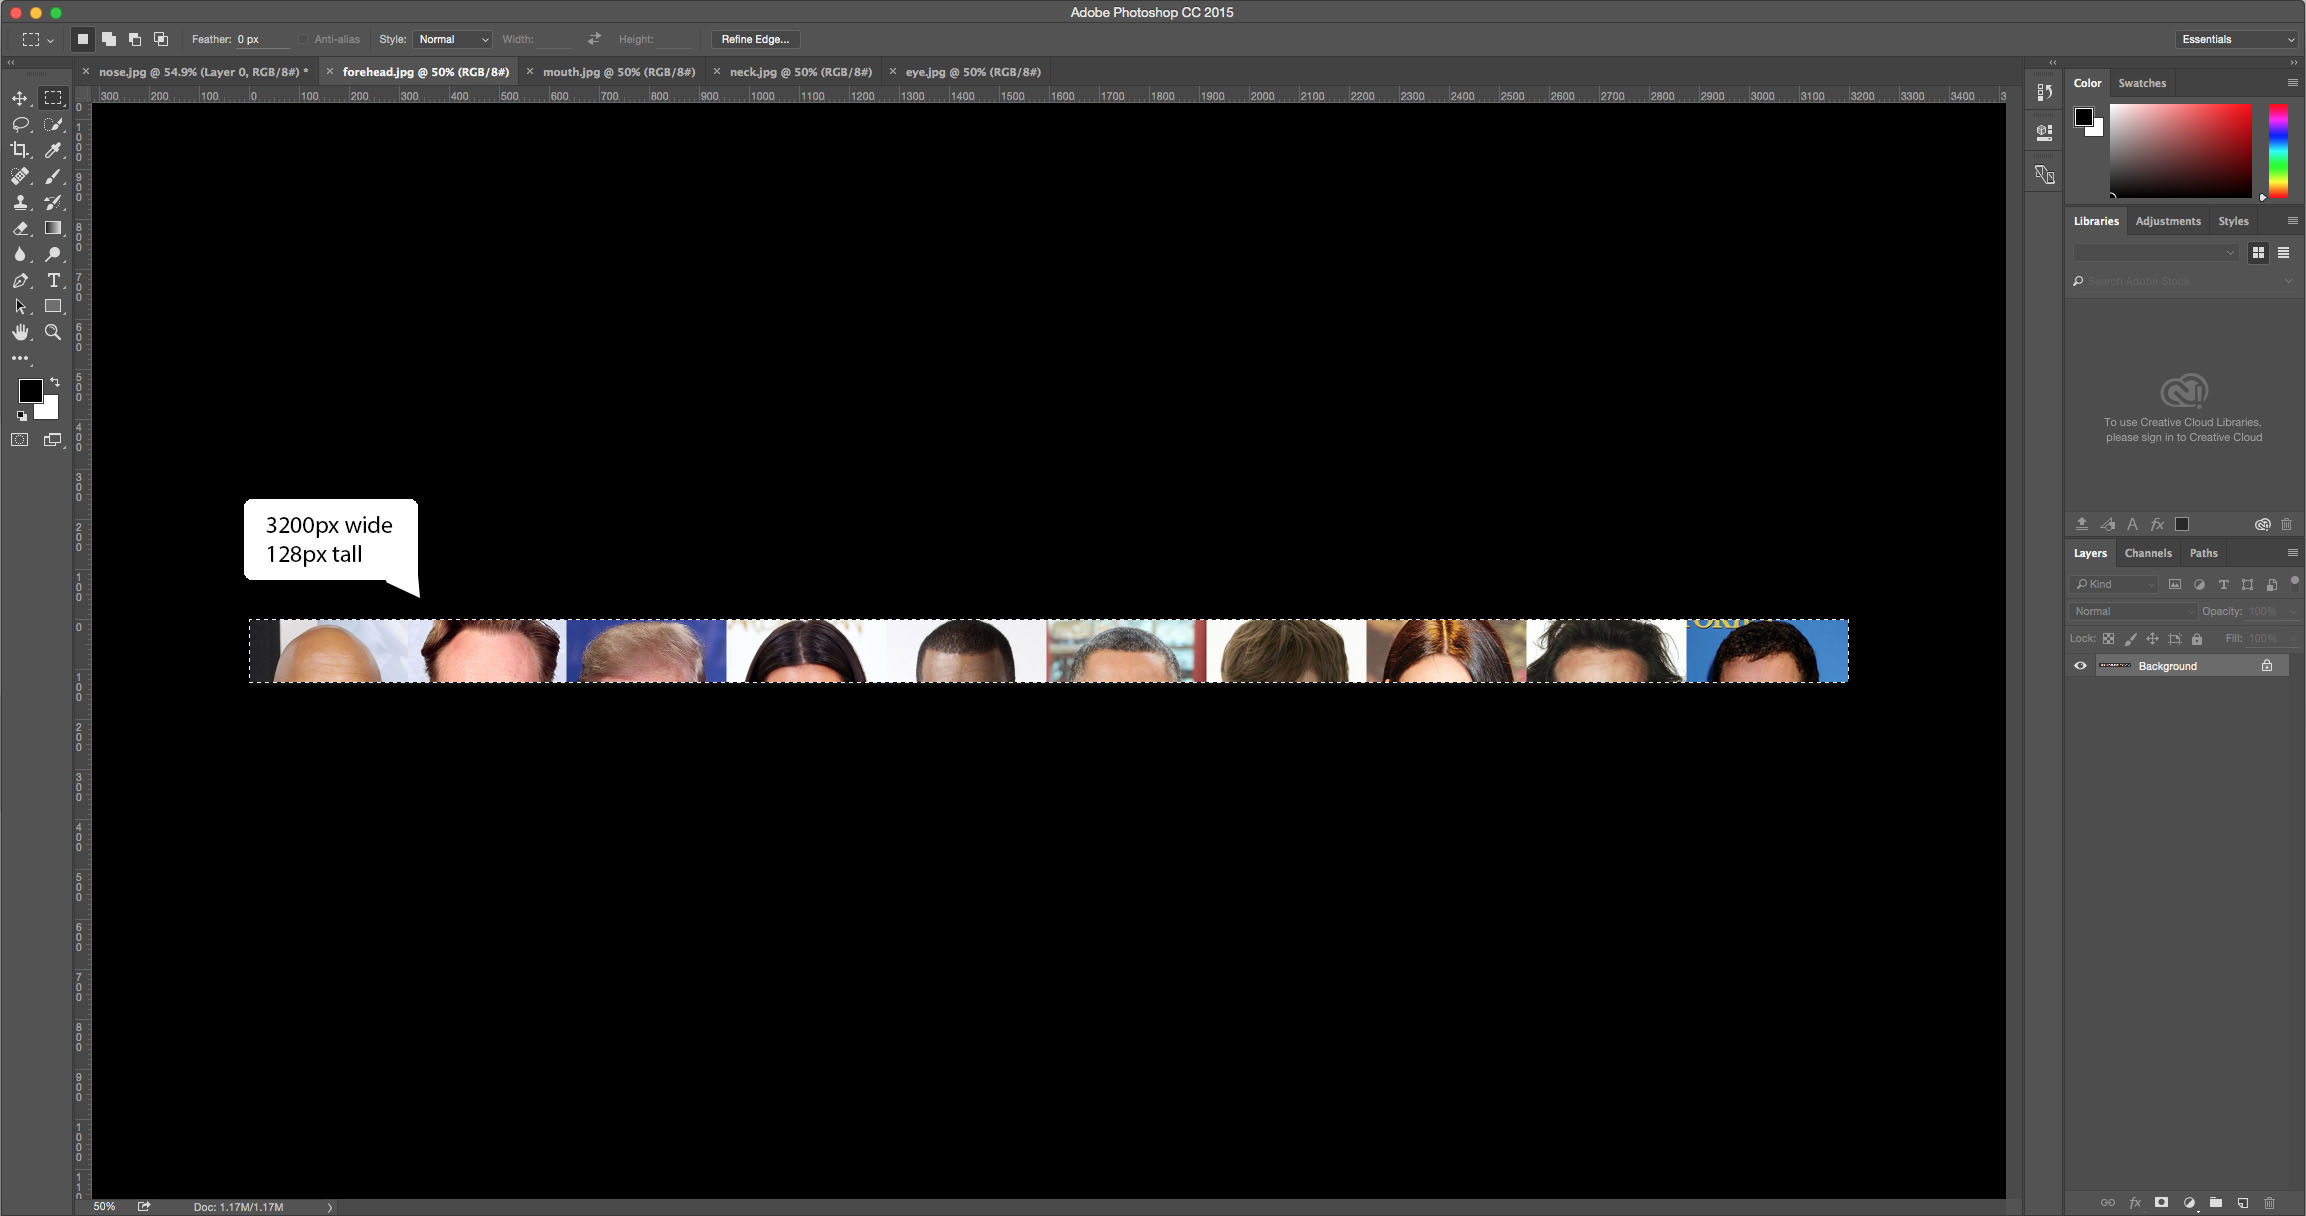
		#forehead{ height: 128px; }
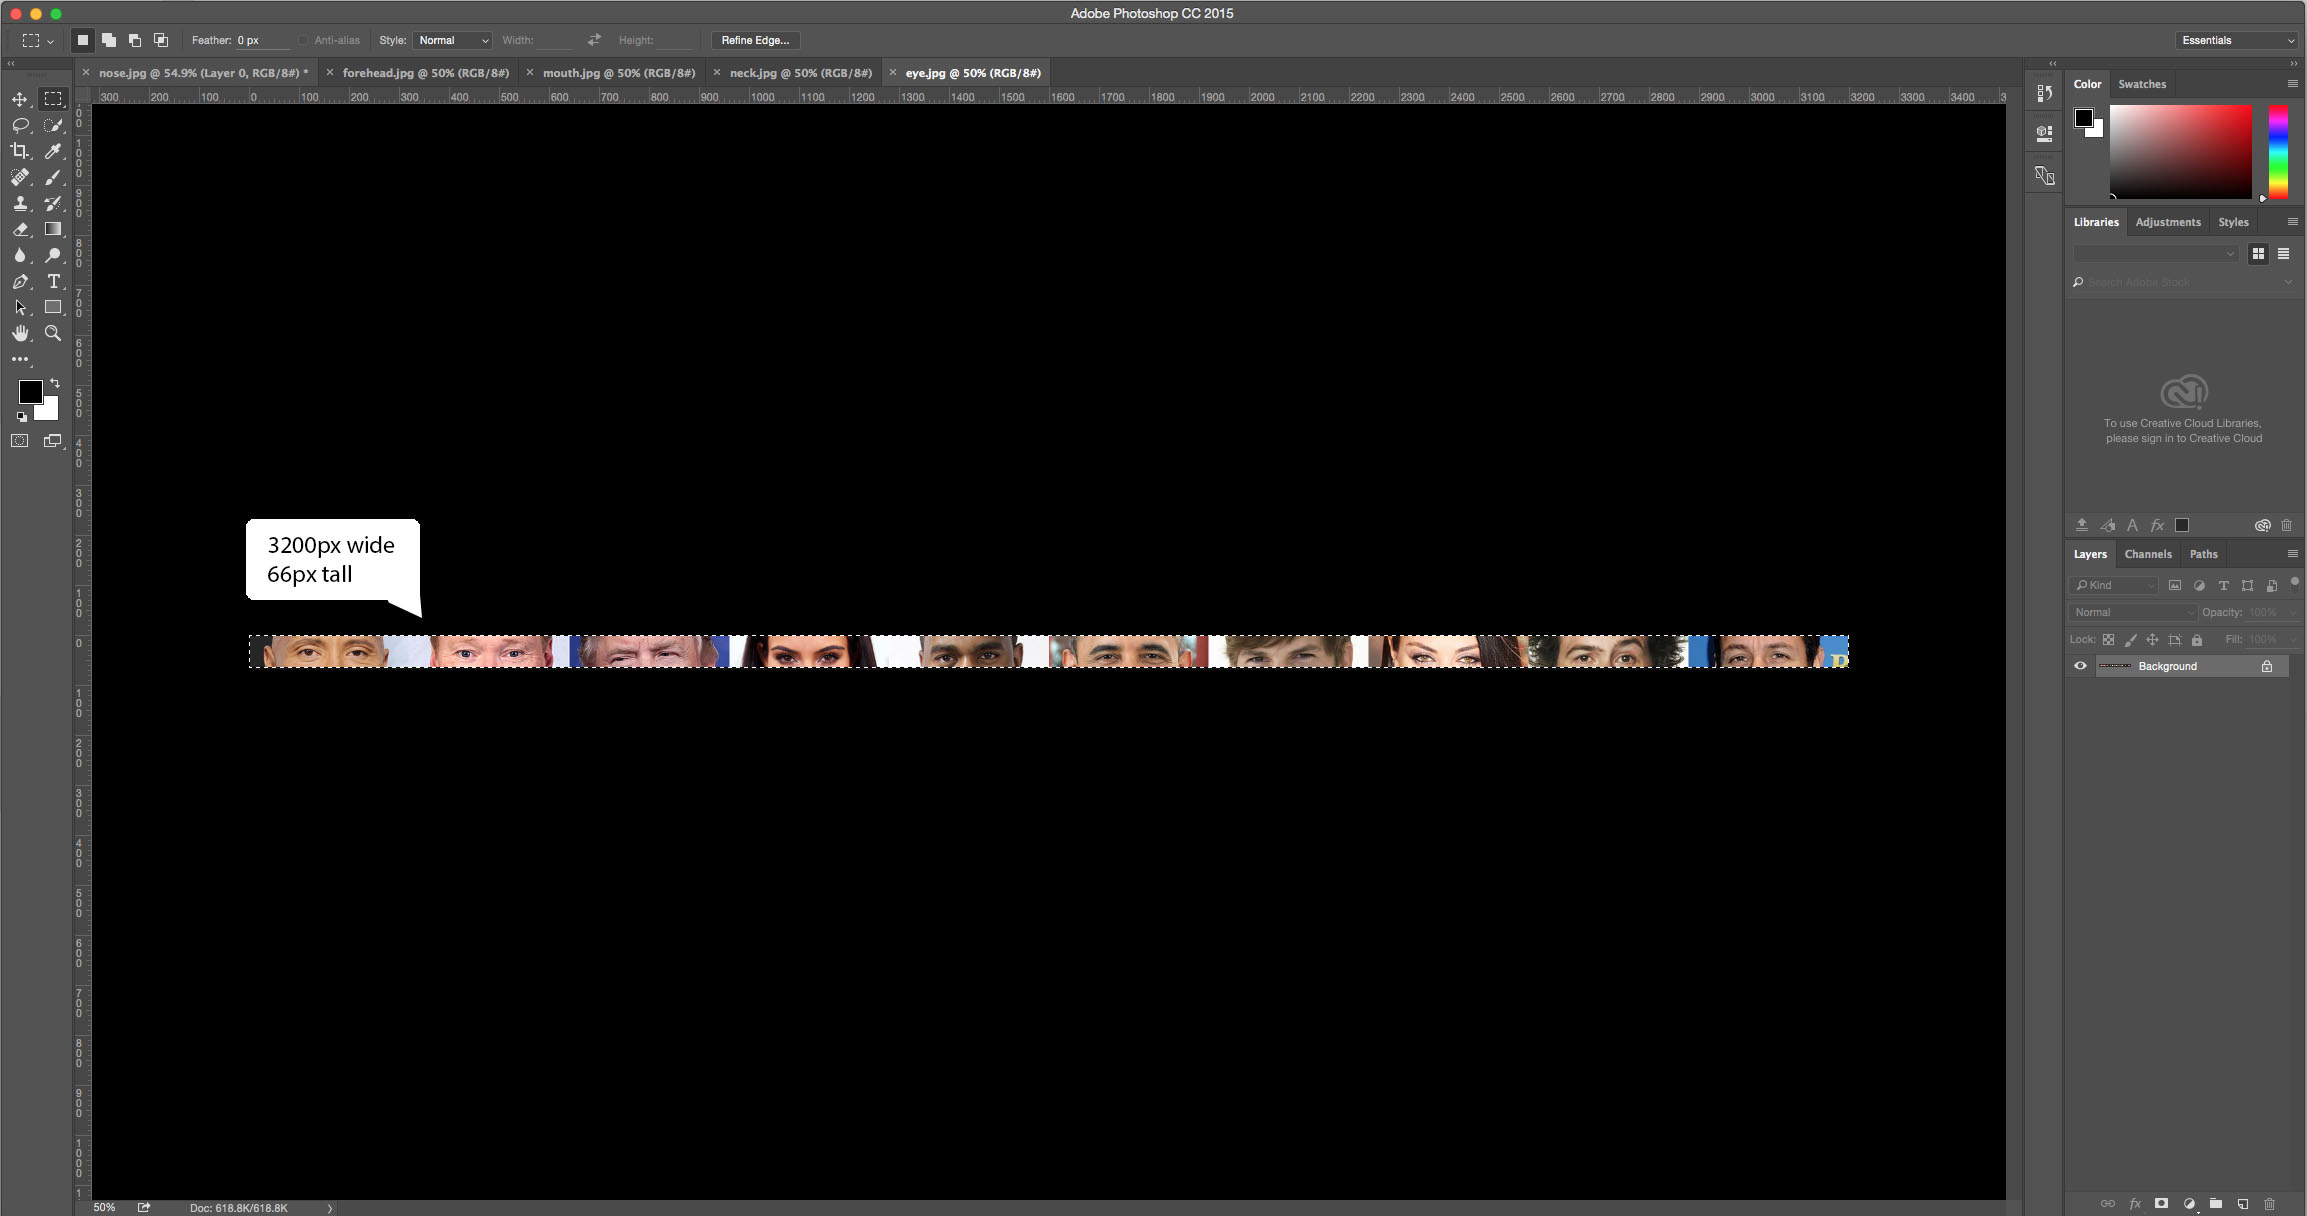
		#eye{ height: 66px; }
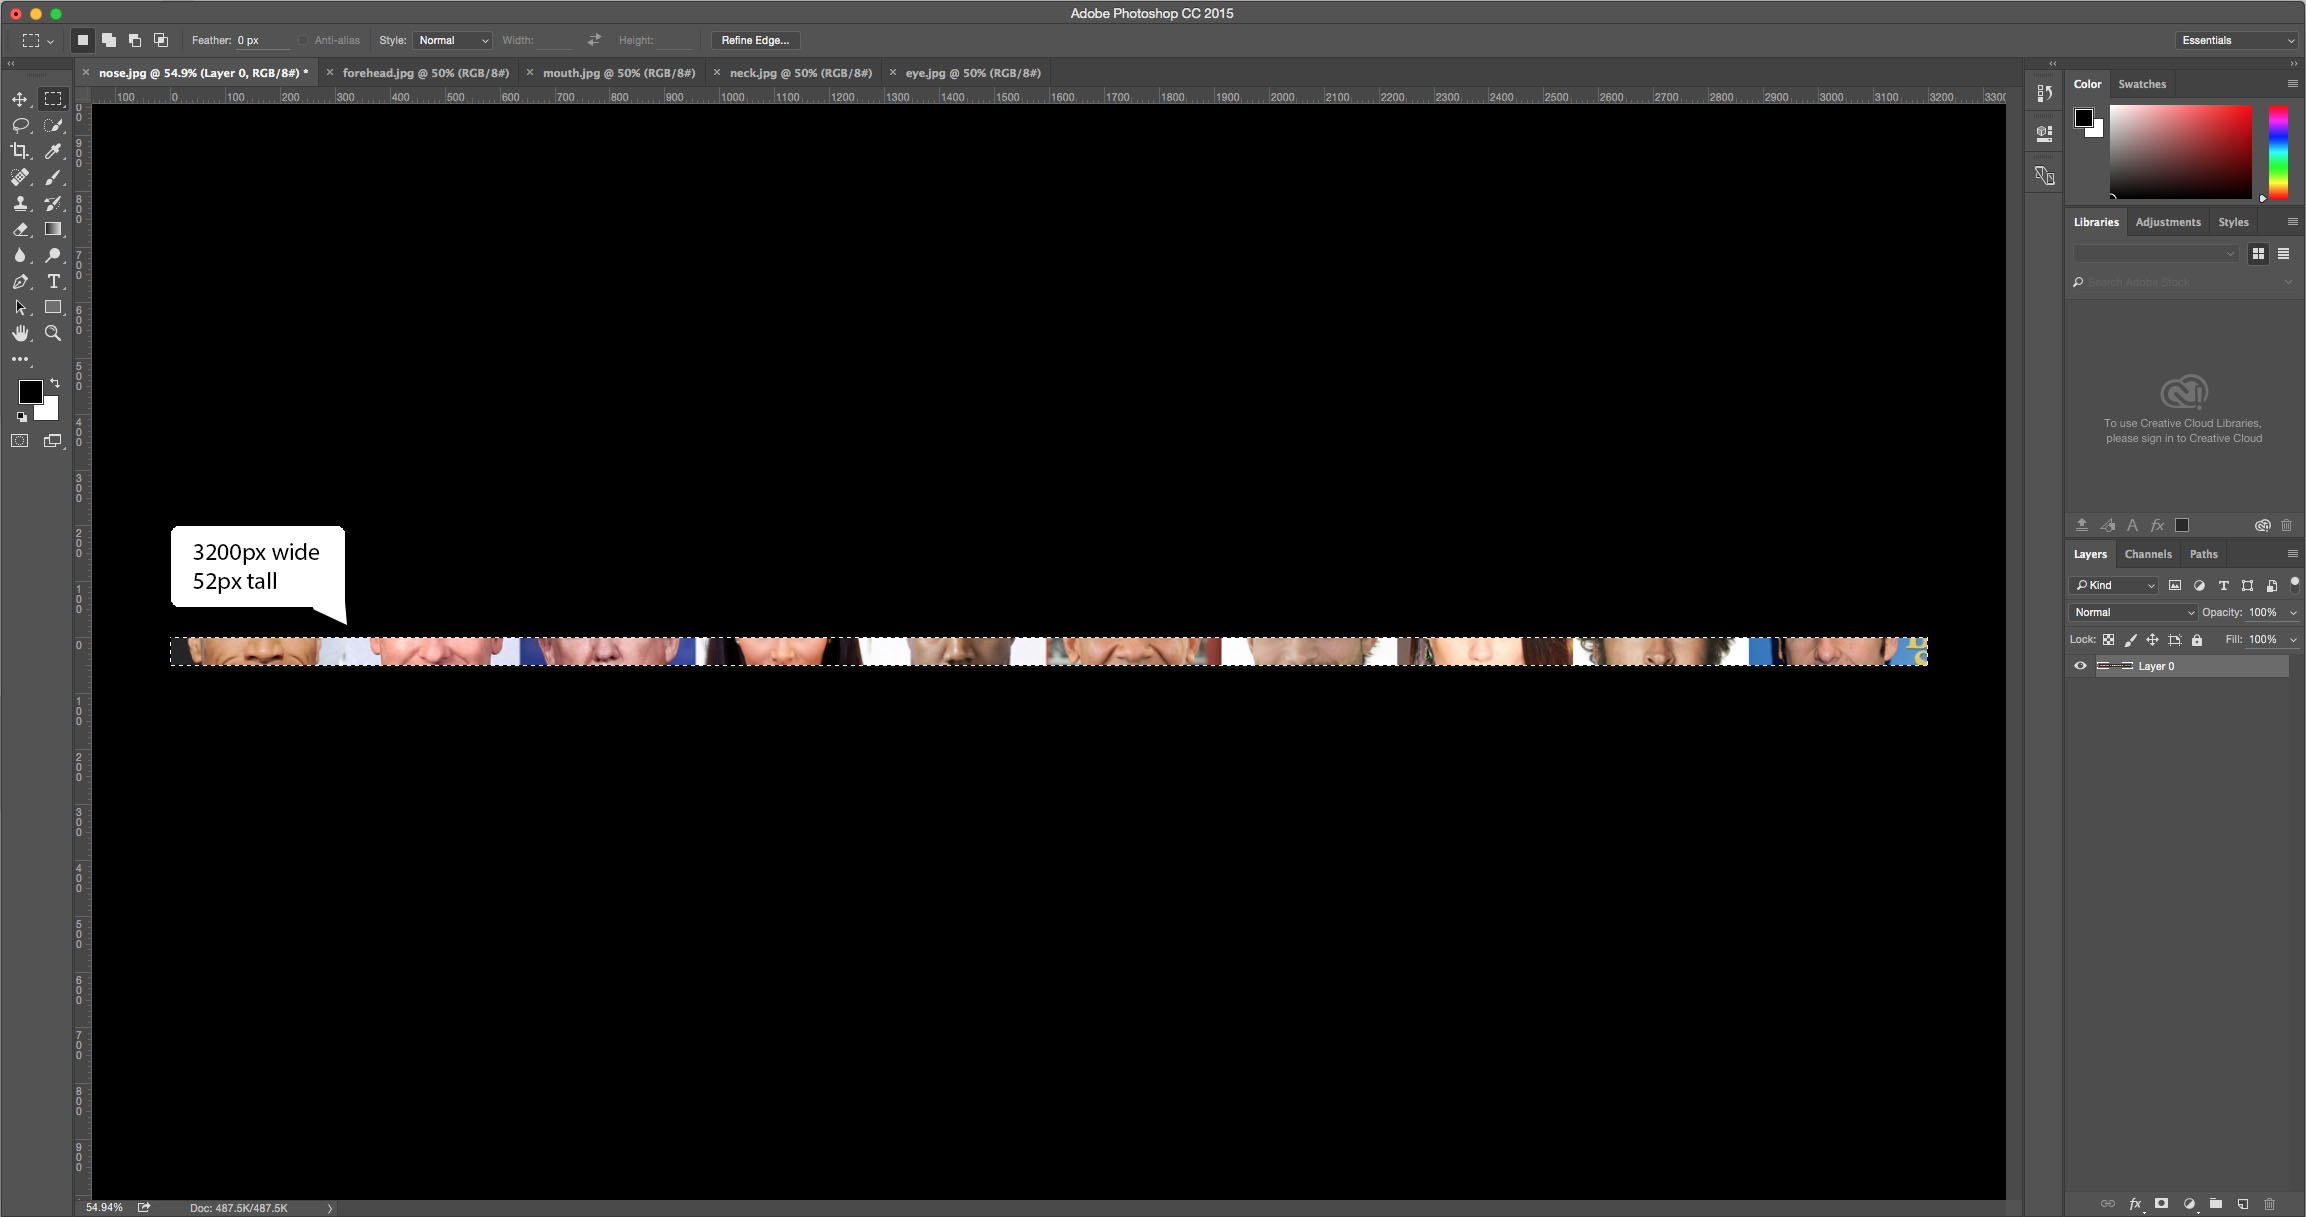
		#nose{ height: 52px; }
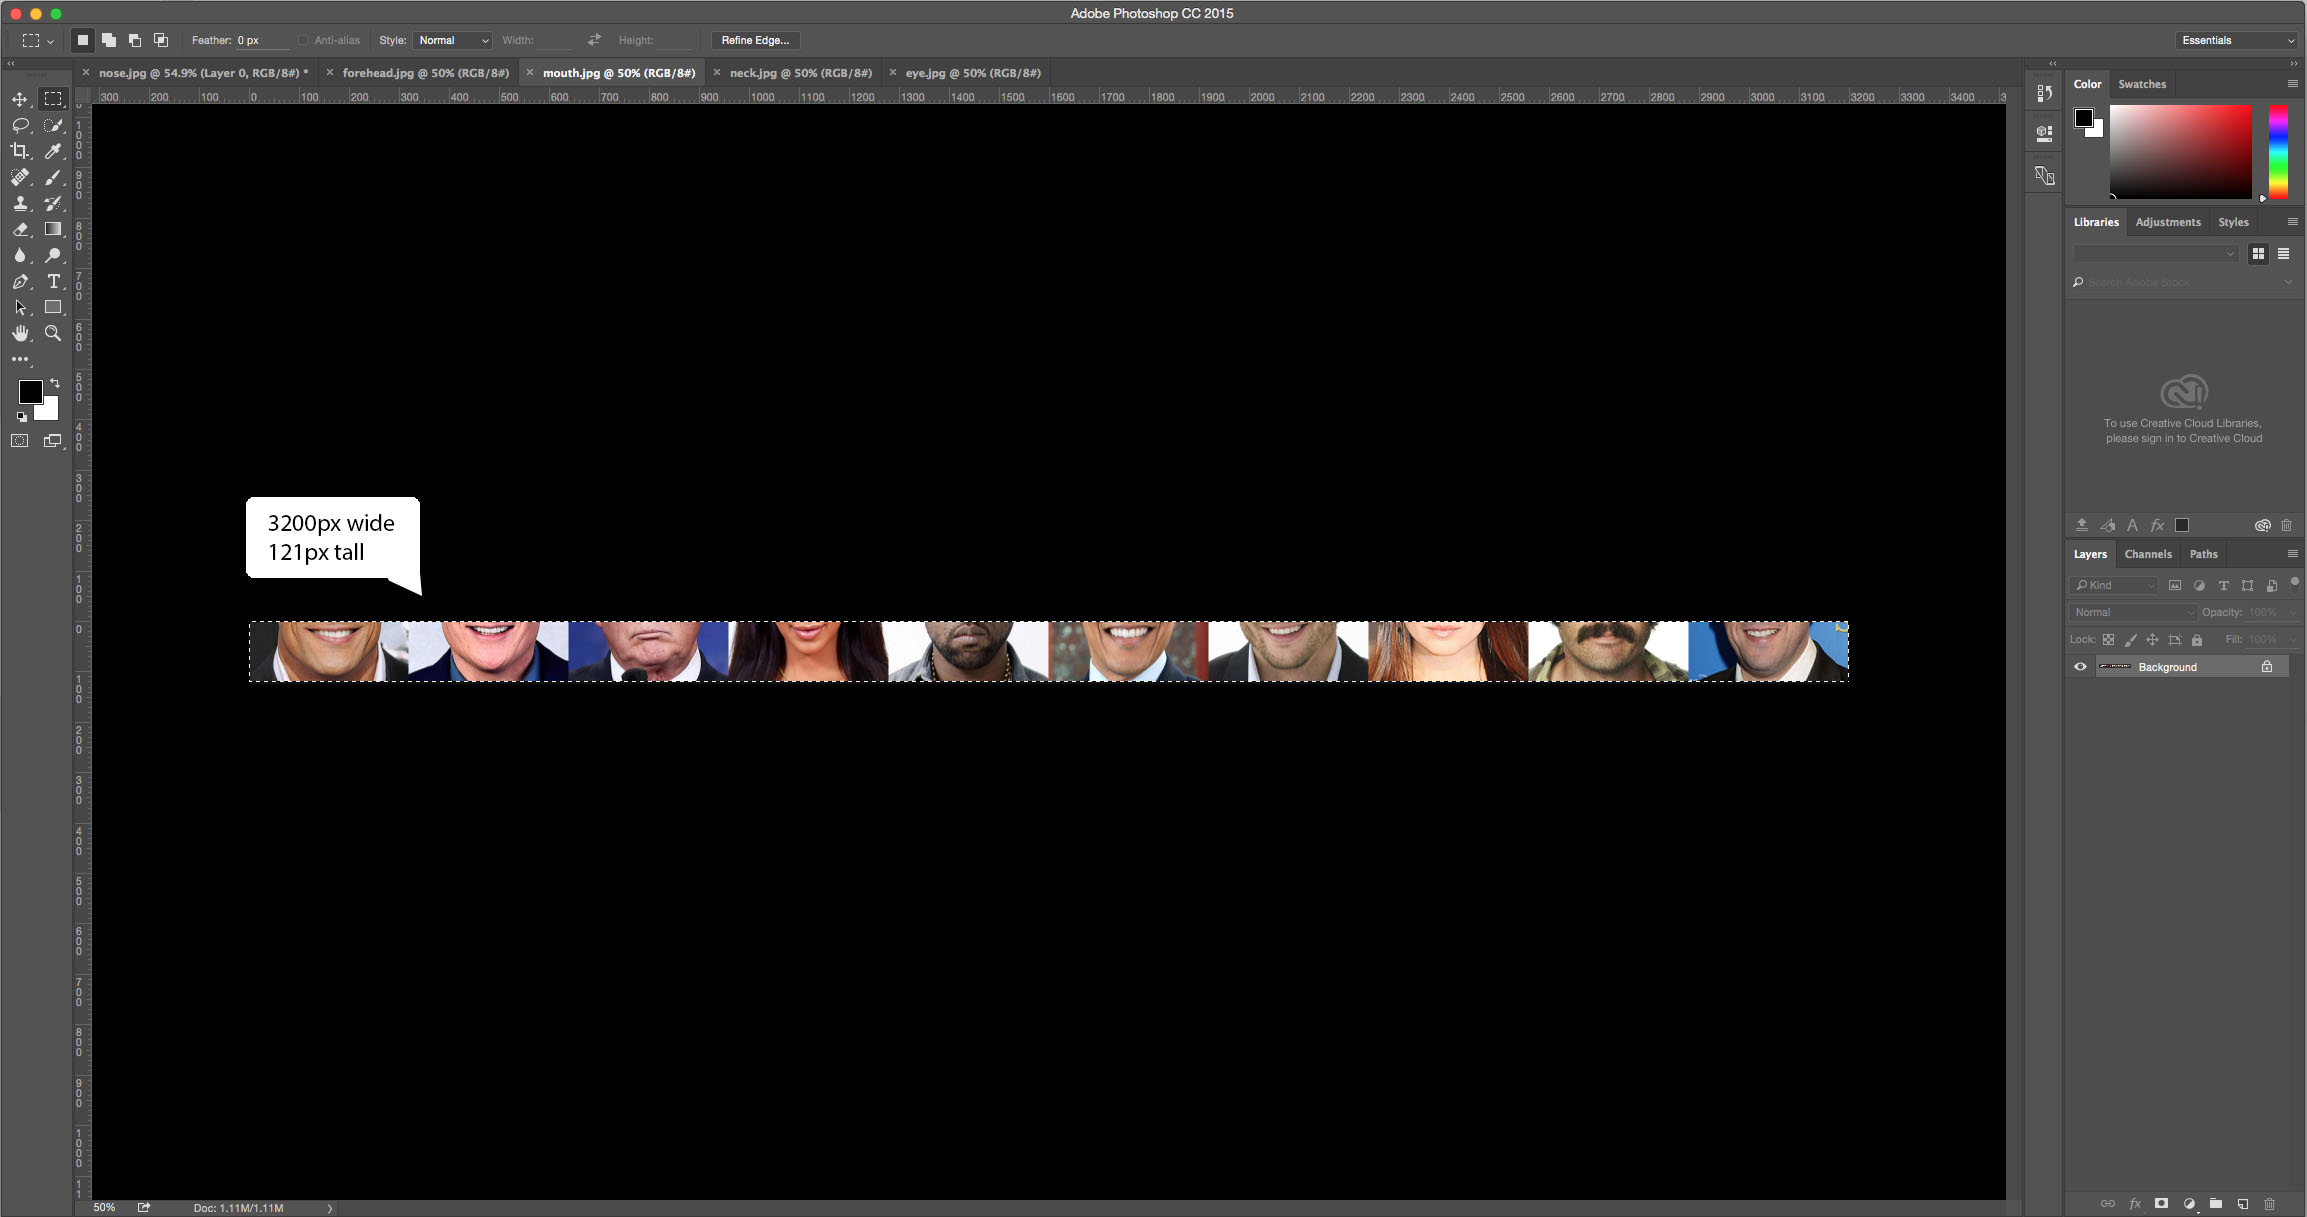
		#mouth{ height: 121px; }
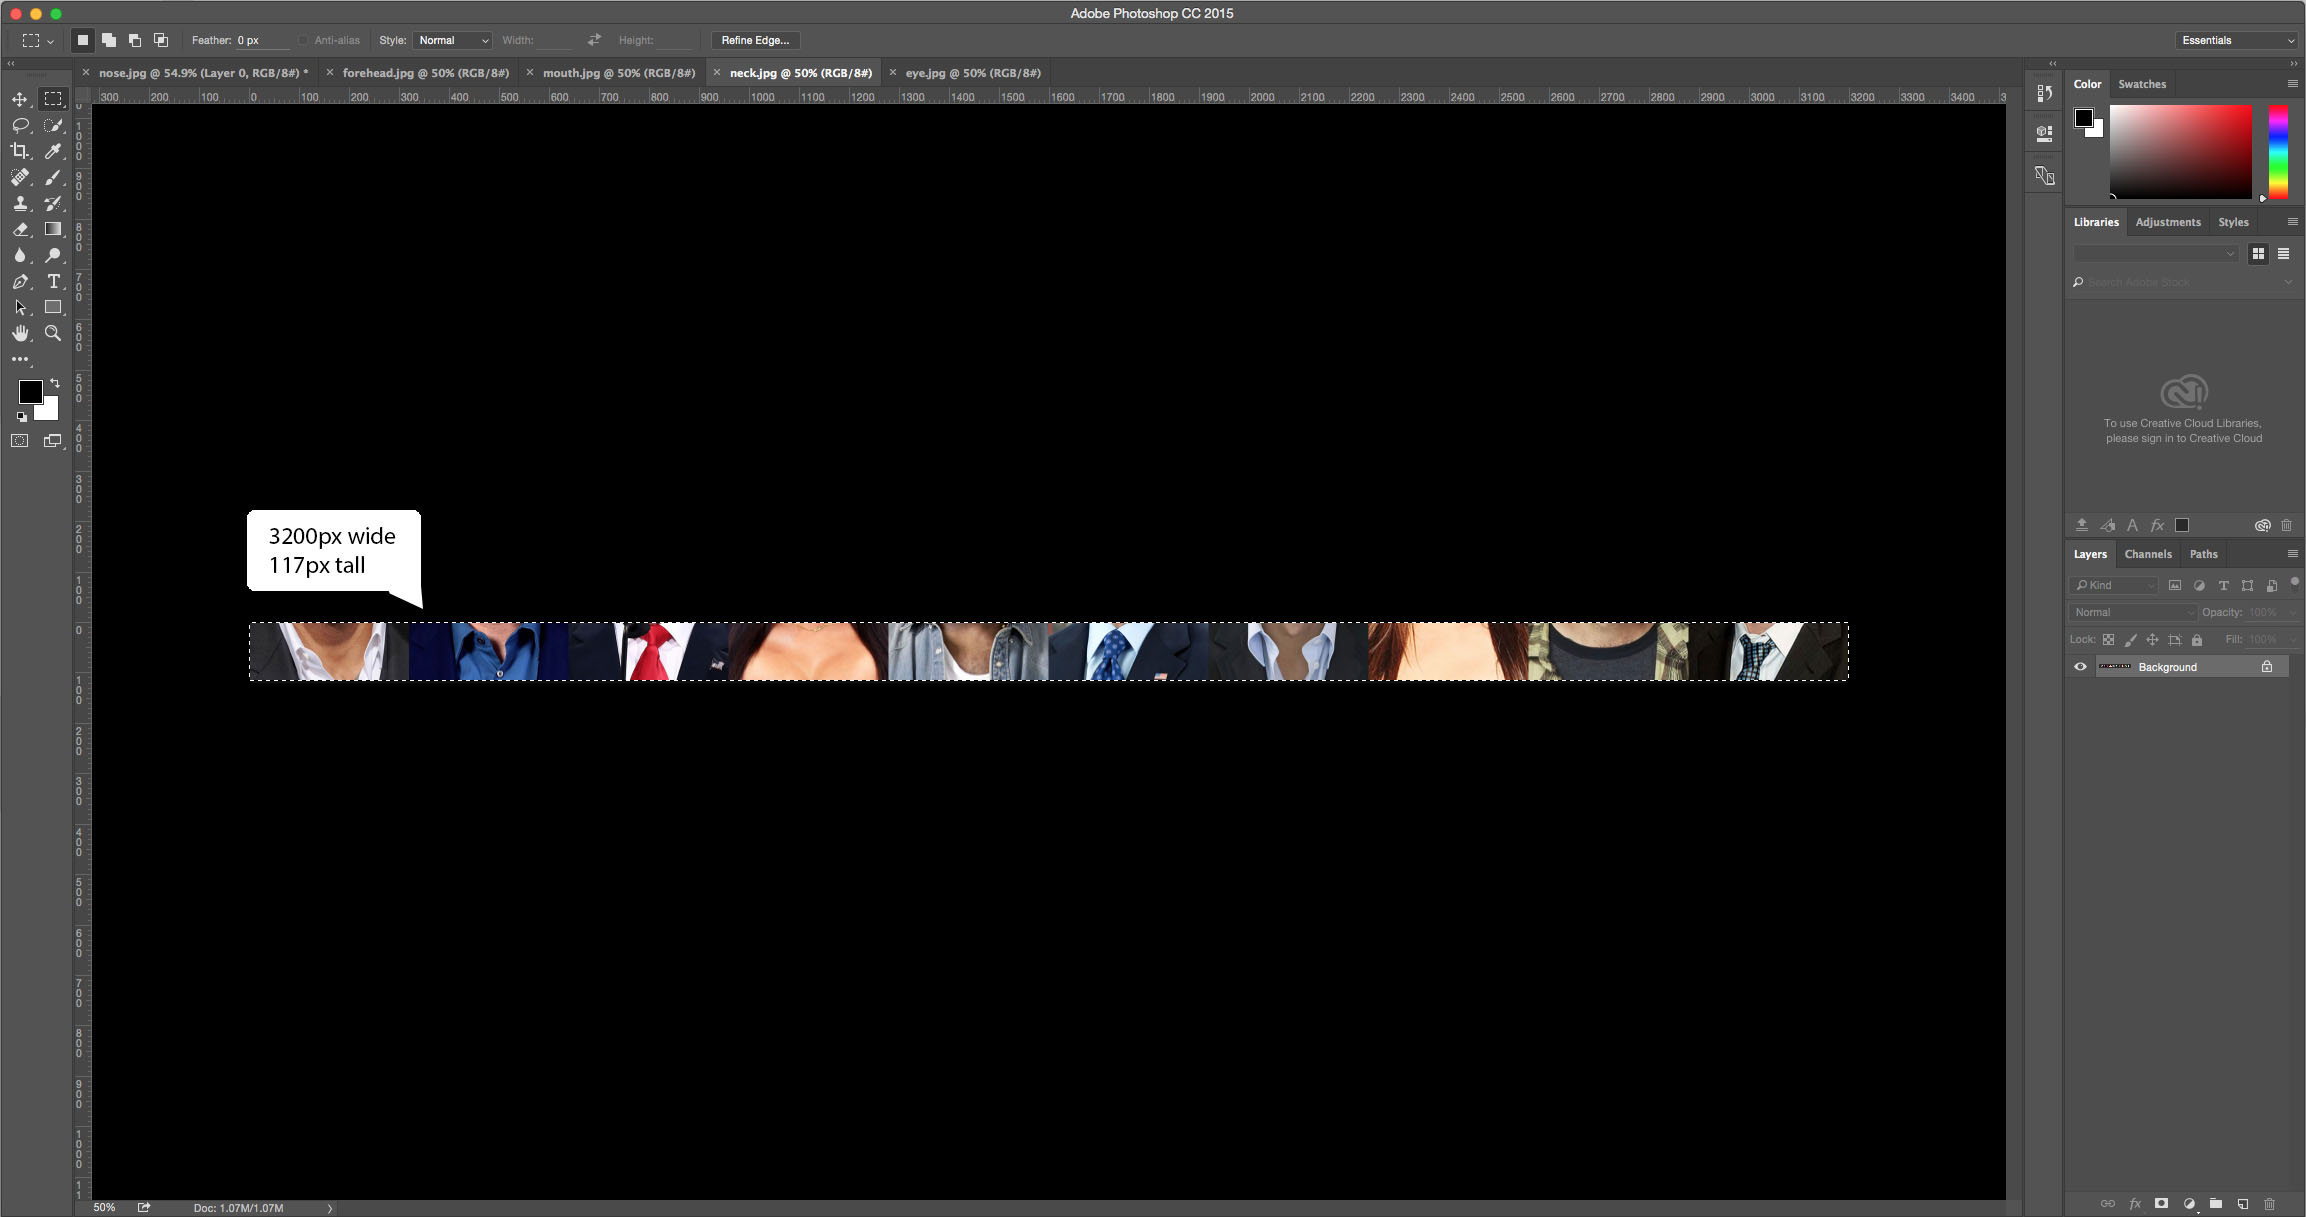
		#neck{ height: 117px; }
Part 3 - jQuery
For the jQuery part we'll need access to the newest jQuery library. Luckily all you have to do is take this tag from right below
<script src="https://ajax.googleapis.com/ajax/libs/jquery/3.1.1/jquery.min.js"></script>
and throw it into your header or footer!
The section below provides you with the jQuery code to set up your click functions. Pay extra attention to those id's(#), make sure they match your HTML
Example:
		$(document).ready(function() { //document is ready to function
		//set variables for the click function areas
		var headclick = 0, eyeclick = 0, noseclick = 0, mouthclick = 0, neckclick = 0;
		$("#forehead").click(function() { //add click function to selected element
	if(headclick < 9) {
		$("#forehead").animate({left:"-=320px"},500);
		headclick+=1;
		}
	else {
		$("#forehead").animate({left:"0px"},500);
		headclick=0;
		}
	});

		$("#eye").click(function() { //add click function to selected element
	if(headclick < 9) {
		$("#eye").animate({left:"-=320px"},500);
		headclick+=1;
		}
	else {
		$("#eye").animate({left:"0px"},500);
		headclick=0;
		}
	});

		$("#nose").click(function() { //add click function to selected element
	if(headclick < 9) {
		$("#nose").animate({left:"-=320px"},500);
		headclick+=1;
		}
	else {
		$("#nose").animate({left:"0px"},500);
		headclick=0;
		}
	});

		$("#mouth").click(function() { //add click function to selected element
	if(headclick < 9) {
		$("#mouth").animate({left:"-=320px"},500);
		headclick+=1;
		}
	else {
		$("#mouth").animate({left:"0px"},500);
		headclick=0;
		}
	});

		$("#neck").click(function() { //add click function to selected element
	if(headclick < 9) {
		$("#neck").animate({left:"-=320px"},500);
			headclick+=1;
		}
	else {
				$("#neck").animate({left:"0px"},500);
				headclick=0;
	 }
	});
}); //end document ready function
Part 4 - PhotoShop
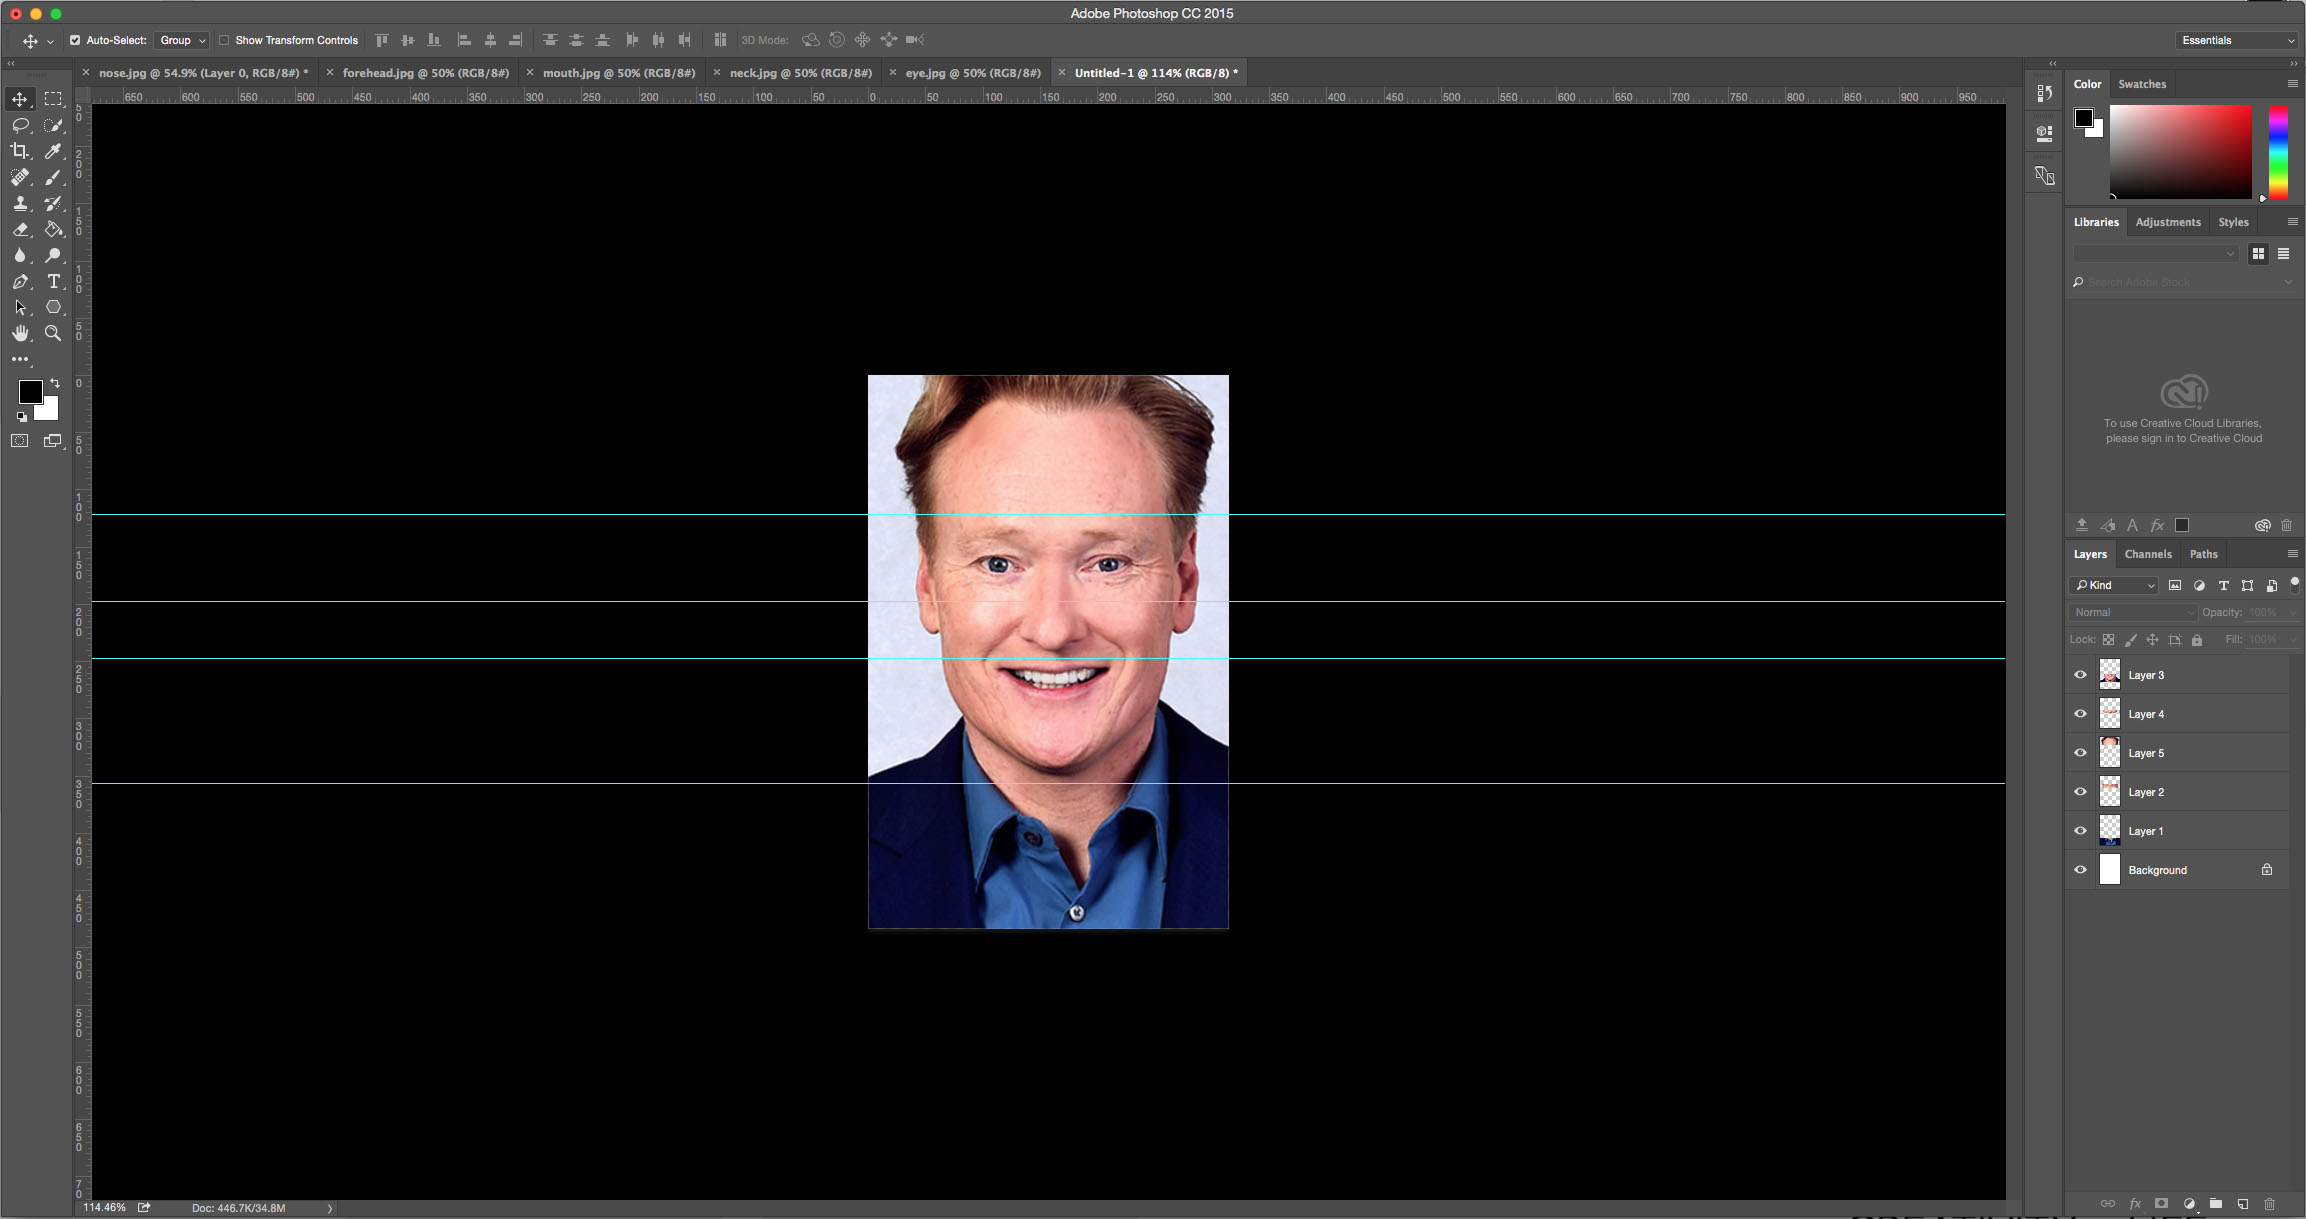
This is where it gets a little time consuming. Grab a couple images of people, but face on and about shoulders and up like the ones in the example.
The document canvas size in photoshop should be 320px wide and around 400px in height, this is why you will have different heights to
place in the CSS.
Example:
Step One
Grab your faces and lay them on top of eachother making fure the faces are fairly well placed over top of eachother and then place your
guide lines. One right above the eye brows, between the eyes and nose, between nose and mouth, and right below the chin.
Step Two
After you have separated the pieces of the face begin using your marquee tool at the top left to highlight the piece you want, this being the forehead so everything above the first marker.
Step Three
Grab your faces and lay them on top of eachother making fure the faces are fairly well placed over top of eachother and then place your
guide lines. One right above the eye brows, between the eyes and nose, between nose and mouth, and right below the chin.
Step Four
Grab your faces and lay them on top of eachother making fure the faces are fairly well placed over top of eachother and then place your
guide lines. One right above the eye brows, between the eyes and nose, between nose and mouth, and right below the chin.
Step Five
Grab your faces and lay them on top of eachother making fure the faces are fairly well placed over top of eachother and then place your
guide lines. One right above the eye brows, between the eyes and nose, between nose and mouth, and right below the chin.
Step Six
Grab your faces and lay them on top of eachother making fure the faces are fairly well placed over top of eachother and then place your
guide lines. One right above the eye brows, between the eyes and nose, between nose and mouth, and right below the chin.
Now test your new understanding here with the codepen!
Here you can try plugging in your own styles to practice before you place it into your own site
You can click back and forth between the HTML, CSS, and jQuery tabs to see all the working components or click in the top right corner to enlarge the pen for a better look.
See the Pen Mashup by Alex Coy (@CoyFish) on CodePen.
